C and C++ are powerful programming languages that are used in many applications. Unfortunately, it can be a bit troublesome getting started with it because of the technical language used to help developers choose the right tools needed to get started.
In this article I will guide you though the prosess of getting a functioning C/C++ dev environment up and running on Windows 11.
MinGW setup
Navigate to https://winlibs.com/ and download the latest UCRT runtime (with posix) for your processor. Make sure you don't select an option that does not include everything.
Extract the zip archive to the root of your C-drive.
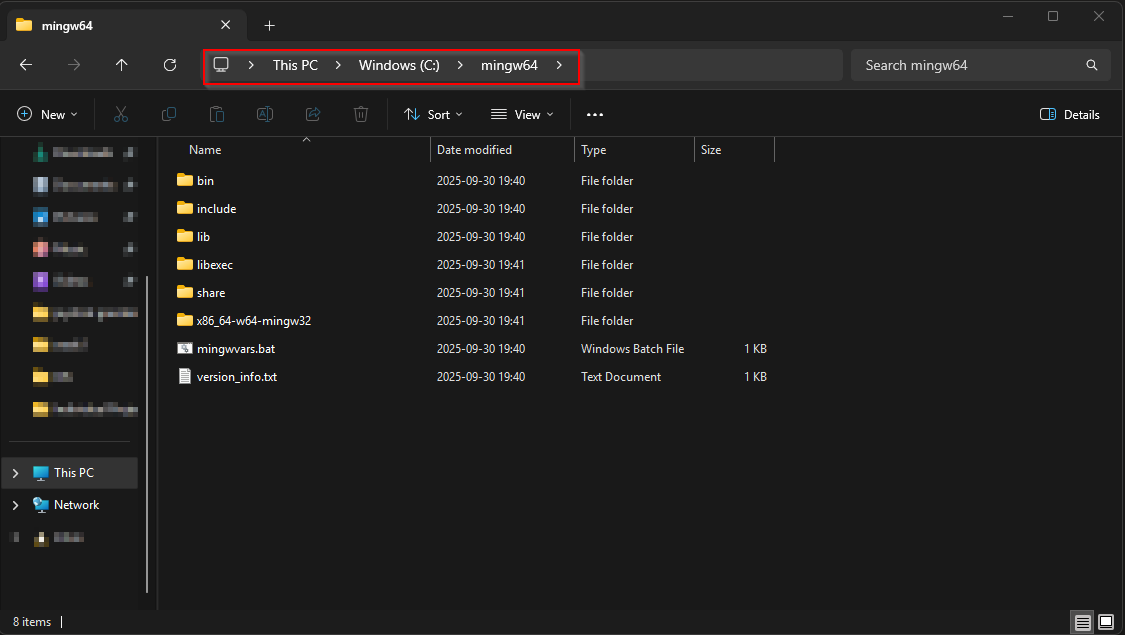
Mingw64 installed in the root of my computer
Now, you ned to add the bin diectory to your system PATH variable by first searching for the environment from the start menu, and selecting "Edit the system environment variables". This will open a window that allows you to do so.

Click the "Evironment Variables..." button
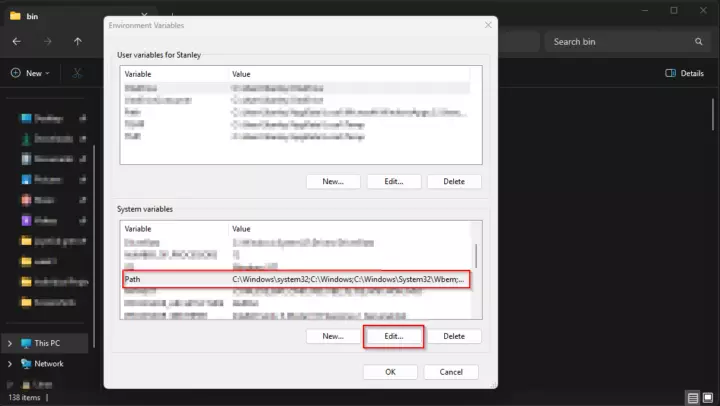
Scroll down to the "Path" variable, select it, and click "Edit"
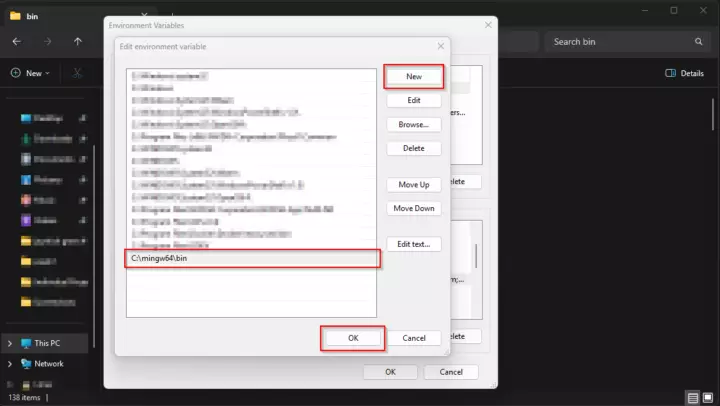
Add a new path by clicking on the "New" button, and add the path to the bin directory. Then, click ok to save the changes.
To verify that the installation was successful, open the Command Prompt (cmd) or PowerShell and run the following command.
g++ --version
g++ (MinGW-W64 x86_64-ucrt-posix-seh, built by Brecht Sanders, r1) 15.2.0
Copyright (C) 2025 Free Software Foundation, Inc.
This is free software; see the source for copying conditions.  There is NO
warranty; not even for MERCHANTABILITY or FITNESS FOR A PARTICULAR PURPOSE.
MSYS2 setup
Installing the build tools and libraries
Navigate to https://www.msys2.org/#installation, download the installer, and run it. Please use the default installation path, and let the installation finish.
At the end of the installation, a command prompt will open. Her,e you must run the following command:
pacman -S --needed base-devel mingw-w64-ucrt-x86_64-toolchain
:: There are 13 members in group mingw-w64-ucrt-x86_64-toolchain:
:: Repository ucrt64
   1) mingw-w64-ucrt-x86_64-binutils  2) mingw-w64-ucrt-x86_64-crt-git
   3) mingw-w64-ucrt-x86_64-gcc  4) mingw-w64-ucrt-x86_64-gdb
   5) mingw-w64-ucrt-x86_64-gdb-multiarch  6) mingw-w64-ucrt-x86_64-headers-git
   7) mingw-w64-ucrt-x86_64-libmangle-git  8) mingw-w64-ucrt-x86_64-libwinpthread-git
   9) mingw-w64-ucrt-x86_64-make  10) mingw-w64-ucrt-x86_64-pkgconf
   11) mingw-w64-ucrt-x86_64-tools-git  12) mingw-w64-ucrt-x86_64-winpthreads-git
   13) mingw-w64-ucrt-x86_64-winstorecompat-git

Enter a selection (default=all):
Press enter to select the default option, and type Y and press enter when prompted to complete the installation.
After the installation is completed, you must add MSYS2 to your PATH as well.
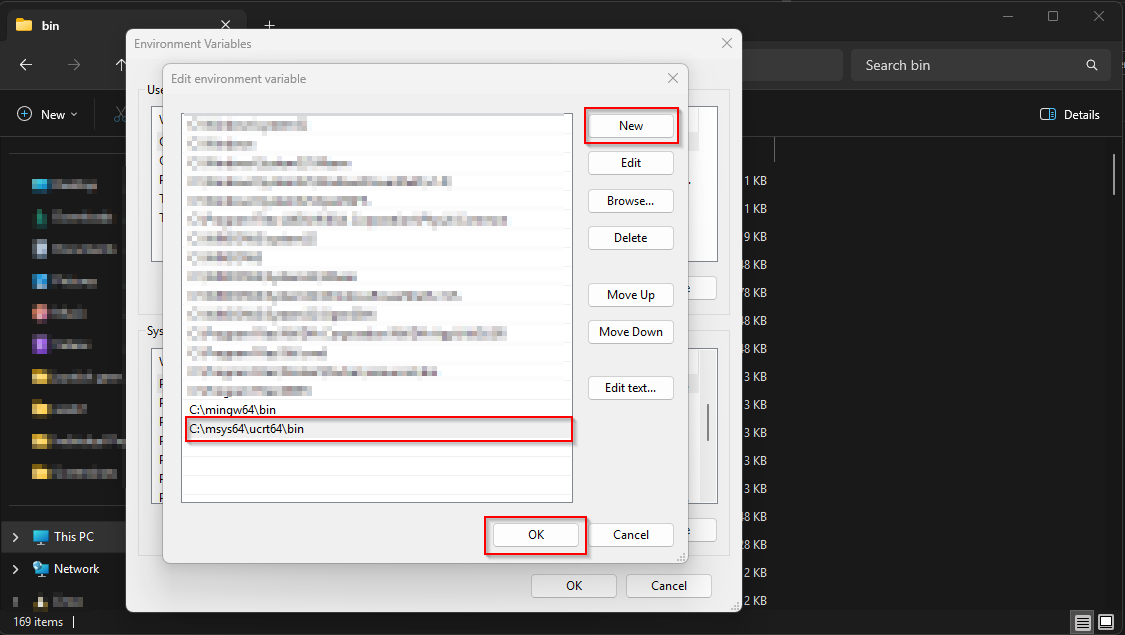
Add the MSYS2 bin path to your environment variables.
VS Code setup
Open up VS Code, and install the C/C++ extension from Microsoft.
To check if everything was correctly installed, you should see tools from both the MinGW and MSYS2 paths listed when you run the "C/C++: Select IntelliSense Configuration..." command.
In VS Code, you can now set breakpoints and make use of the great debugger provided by the C/C++ extension. To run the program, simply press F5 on your keyboard. This will build the C++ program and save the binary as the same name as your C++ source file.
Build from CLI
You may want to build your executables from the command prompt or terminal. To do so, simply run this command:
g++ -Wall -std=c++17 hello.cpp -o program.exe- -Wall <--- disable all compiler errors
- -std=c++17 <---- use the C++ 2017 standard
- hello.cpp <--- source file to be compiled
- -o program.exe <--- the filename of the compiled executable.
Congratulations, you now have a functioning C/C++ dev environement for windows 🎉